5 Tips for Captivating Property Photography: How to Take Stunning Real Estate Photos
5 Tips for Captivating Property Photography
If you want your property images to stand out, there are a few simple tips you should follow. Outlined below are our 5 Top Tips that will provide a solid foundation for your property photography.
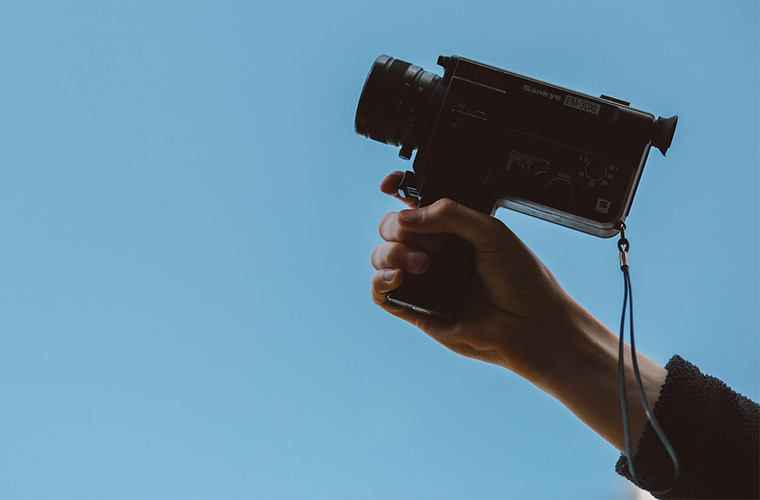
USE A WIDE-ANGLE LENS
A wide-angle lens will allow you to capture more of the room in each shot, making the space look larger. On a full frame camera, this could be anywhere from a 12mm to a 16mm lens. Try to look out for a lens with minimal lens distortion and avoid fish-eye lenses. If you have a Sony Full Frame camera, the Samyang 14mm is a great choice: Get the Samyang 14mm F2.8 AF Here:
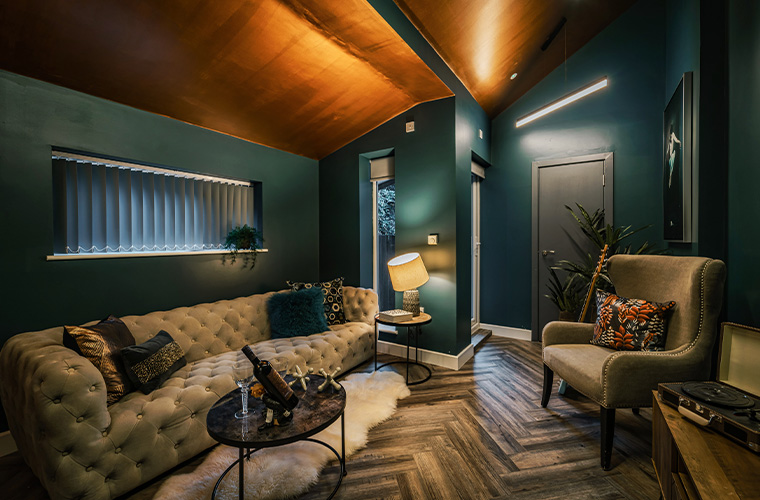
GET THE RIGHT LIGHTING
Natural light is always best for property photography. If the property has large windows, schedule the photo-shoot during the day when the light is at its best. If the property has low lighting, consider using additional lighting such as lamps or flashes to brighten up the space. Make use of practical lighting such as bed-side lamps, or wall lights. These lights won’t look out of place in the photo but will add much needed light.
USE A STURDY TRIPOD
A tripod will help keep your camera steady and ensure that your photos are sharp. As well as a good heavy duty tripod, consider using a remote trigger to take the photos. This way, you’ll minimise the contact you have with the camera which will help to reduce any small movements. A great choice is the K&F Concept Aluminium Tripod. It’s light-weight and folds up so you can transport it easily. Get the K&F Concept Aluminium Tripod here:
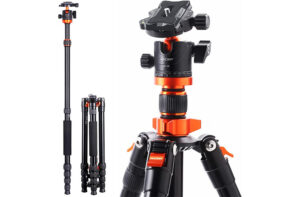
K&F Concept Tripod
EXPERIMENT WITH DIFFERENT ANGLES
Don’t just stick to shooting from eye level. Try shooting from different angles such as low or high to add visual interest to your photos. Depending on the size of the room and the height of the ceiling, you may be better to take photos from about chest height rather than eye level. For kitchens and bathrooms, you’ll want to raise the camera a little so that you are not looking under kitchen units etc.
EDIT YOUR PHOTOS
After taking your photos, use photo editing software to touch up any blemishes or imperfections. This can include correcting the white balance, adjusting the exposure, and cropping the image. This step is probably the most important step of all, and is the topic for a much more in-depth article. The image below shows the difference between an image straight from the camera and one that has been edited.
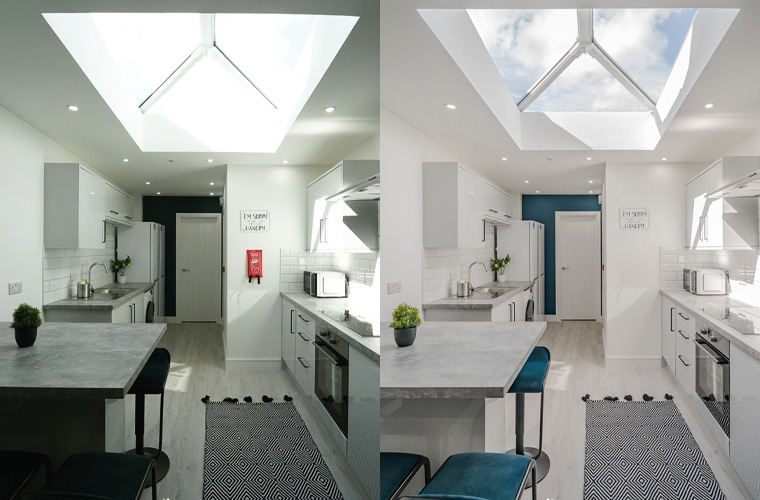
Editing – Before and After
Bonus Tip
Practice makes perfect: Like any skill, becoming a proficient property photographer takes time and practice. Don’t be discouraged if your photos don’t turn out perfectly at first. As you gain more experience, you’ll get a better understanding of how to compose shots. This in turn will help you to troubleshoot any issues that arise.
Conclusion
Taking compelling and captivating property photos doesn’t have to be difficult. By following the simple steps outlined above, you ‘ll take your photos from average to stunning in no time. Get yourself a wide-angle lens and a nice sturdy tripod. Use natural light to your advantage and work with what you have. Try out different angles and positions to capture the best image for the room. Lastly, spend some time editing your photos to get the best out of your image. You should now have a better understanding of how to take good property photos so get out there and see what you can do.
If you’re new to Property Photography, you can find more in-depth information in our article on Getting Started with Property Photography